| Part 1 – Beginner’s Luck |
Page 2 |
|
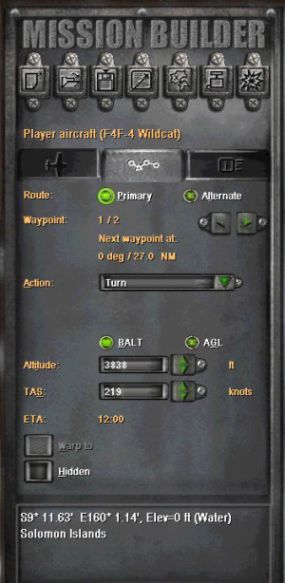
Click on the middle, Route, tab. This will change the window to look like the illustration. Using this panel and the map we will build the waypoints for the mission. Waypoints mark the route that planes, ships and vehicles must follow in the game. You must pass through each designated waypoint to complete a mission. Before we proceed notice the section of this panel marked ‘Altitude’. ‘BALT’ is highlighted and the altitude shows as 3838 feet. Click on ‘AGL’ and notice that the altitude drops to 328 feet. BALT is the altitude you are above sea level. AGL is the altitude you are above the ground directly below you. Looking on the map you see that your plane is starting out located over land. Since you are 3838 feet above sea level but only 328 feet above the ground, you are obviously flying over elevated terrain. You need to have a basic understanding of the difference between BALT and AGL. If you only focus on the BALT you could end up starting your mission by flying right into the side of a mountain. Let’s begin our mission by taking off from Henderson. Click the down arrow next to ‘Action’ and select ‘Take Off’. Notice that when you did this your plane jumped to the airfield marker, another window opened showing your take off point as Henderson and the altitude options were disabled. Turning to the map, click the MINUS (-) sign at the bottom of the map one time. This will back our view out a little and give us more room to fly around in. Notice that there is
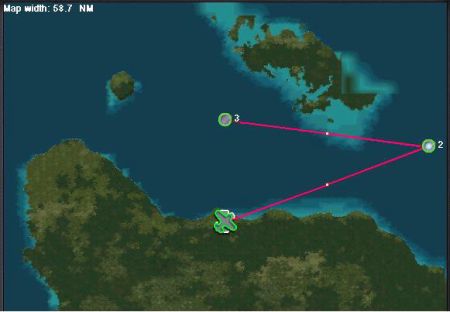
a little dot mid-way between your plane and your only waypoint
(#2). Place your cursor on this dot, left click and drag it to
the right, about midway between the two large islands and close
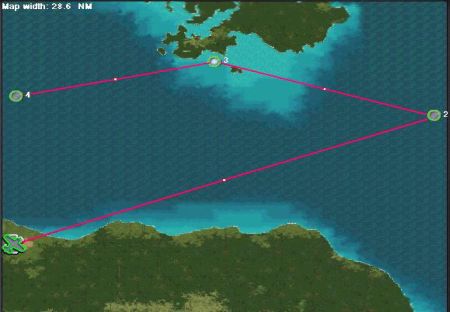
to the edge of the map. Notice that when you clicked on the dot
it became waypoint #2 and what was waypoint #2 is now #3. Now
click on the dot between waypoints 2 & 3 and drag it due
North a little toward the large island. Notice that the old waypoint
#3 is now #4. |


