| Part 2 – Raid on Tarawa |
| Getting
Started
In
Part 2, we will build on the lessons in Part 1 and design a mission
in which we conduct a bombing raid against Japanese ground targets,
engage a few enemy fighters, assist a crippled bomber home and
return safely to our base.
Ready? Let’s start. |
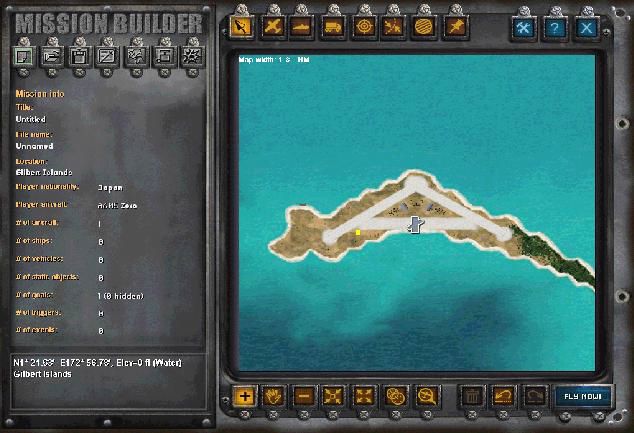
Begin by clicking the New Mission button in the upper left-hand corner. This will bring up the window shown here. For this mission, click on ‘Airbase’, scroll down to ‘Tarawa – Bititu I’, highlight it, and then click on ‘OK’.
|
 |
The
map now places you at Tarawa, flying north in a Zero. Tarawa is
going to be our objective. Before we change planes and lay in our
waypoints, let’s zoom in on the base and set up our targets. |
First,
place your cursor on top of waypoint #2 and right click. This brings
up a pop-up menu. Select ‘Delete’ and left click. Now, drop down
to the buttons along the bottom and left click on the plus sign
(+), changing your cursor into a magnifying glass. Place the cursor
directly on top of Tarawa and click. This will begin our zooming
in on the island. |
As you look down on the island you’ll notice that in addition to the landing strip there are a number of other features already placed at the base. Over to the left we can see a wharf, while in the center are aircraft revetments and some buildings. Default infrastructure such as this, comes with each airfield and can be bombed and destroyed during a mission. However, you can’t set a ‘Must be destroyed’ goal on the default infrastructure. We will take advantage of these existing structures when setting out additional targets. Place your cursor on top of the wharf and click four times to zoom in. This will give you a close up of the area surrounding the wharf. |
 |
| Placing
Infrastructure & Targets
We’re
going to place a Japanese vessel at the wharf. On the tool bar above
the map press the ‘New infrastructure’ button. It’s the button that
looks like a bullseye and cross hairs. Even though we are going to
place a ship we do not use the ‘New ship’ button as we did in Part
1. That button is for moving ships.
Since we are going to place a stationary ship it is considered to
be infrastructure.
 |
|
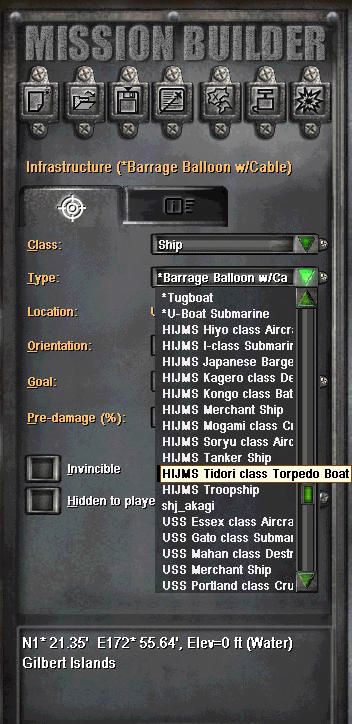
After
clicking on ‘New infrastructure’ move to the left side of the screen,
under ‘Class’
select ‘Ship’ then scroll down to ‘HIJMS Tidori class Torpedo Boat’
and select it.
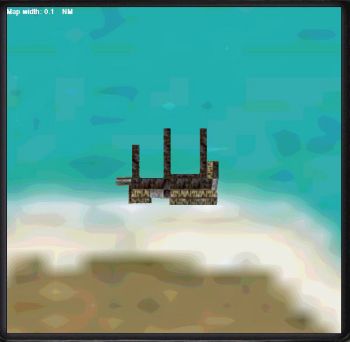
Place
your cursor at the wharf along side one of the docks and left click
to set the torpedo boat, then right click to turn off the feature.
Since the wharf is already oriented North (0°) you don’t have to
change the orientation on the boat. You may have to move the boat
back and forth a little to get it just right. Move it by left clicking
and dragging it where you want it. Make sure all of it is in the
water when you are finished.
Go
to ‘Goal’.
You have three choices here, ‘Must survive’, ‘Must be destroyed’,
and ‘None’. You’ll recognize these as the same sets of goals we
had for ships and aircraft in Part One. If you select ‘Must be
destroyed’ then destroying this object becomes a goal for the mission.
If you fail to destroy this object, no matter how many other things
you destroy or how well you fly the mission elsewhere, you cannot
fully succeed. By the same token, if you select ‘Must survive’
you will fail the mission should that object be destroyed no matter
how well you do on the other parts of the mission. By selecting
‘None’, the status of the object does not affect the mission outcome.
You can destroy it if you like but not doing so won’t count against
you.
Most of the time you will probably select ‘None’. This gives you more flexibility in flying the mission. Don’t make the mistake of selecting ‘Must survive’ for all of the enemy infrastructure you place. I’ve seen this many times on downloaded missions. If your mission is to destroy an enemy fuel depot but the entire infrastructure placed there is marked ‘Must survive’ you will never successfully complete the mission unless you don’t hit anything. It’s your mission and you’re free to design it any way that you want but give some thought to how to use goals to enhance the flying experience. For this mission set the goal of the torpedo boat as ‘None’. You can destroy it if you’d like but it isn’t necessary to complete the mission.
|


